Also how to open the clipper hinge if it accidentally closes without a blade in place.
And how to put on a snap-on, spring-loaded guide comb.
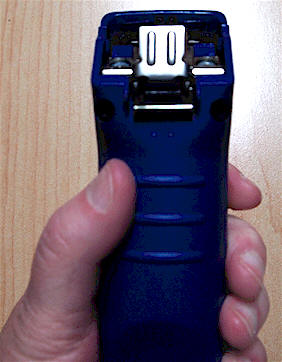
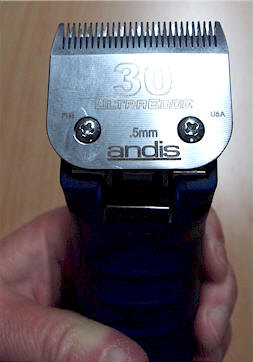
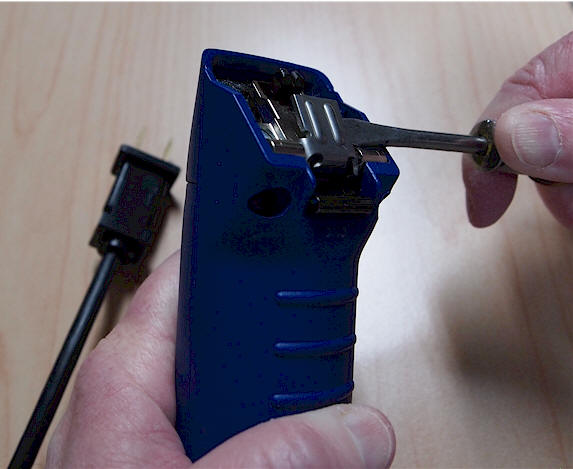
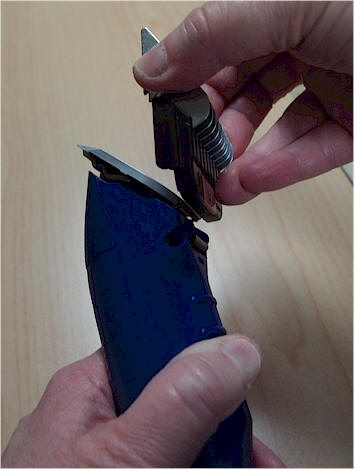
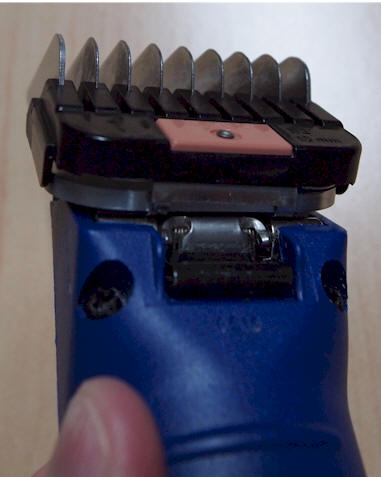
 The clipper hinge positions are pictured above. The clipper blade sits on a tab that moves on a hinge like a door. When the blade is properly seated on the clipper and ready to cut hair, the hinge is closed. In order to remove the blade, the hinge needs to be opened. The picture above shows the hinge in the open position. In order to open the hinge, I need to push the bar-type button and rock the teeth-end of the blade away from the body of the clipper. |
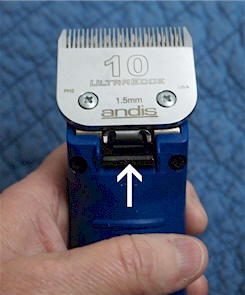 The arrow indicates the Blade Release Button on this particular clipper. Other clippers may vary. |
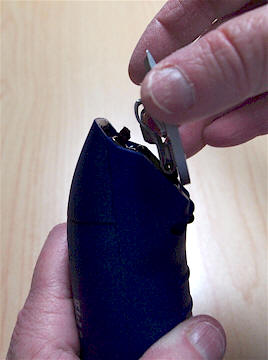
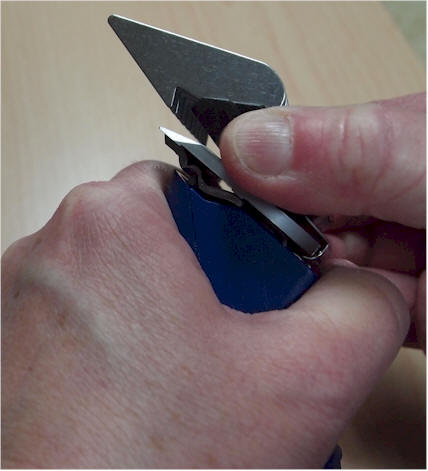
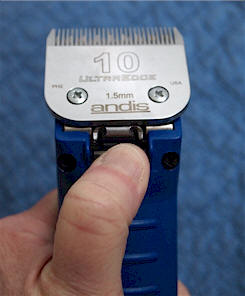 I press the bar-shape button in and hold it in place. |
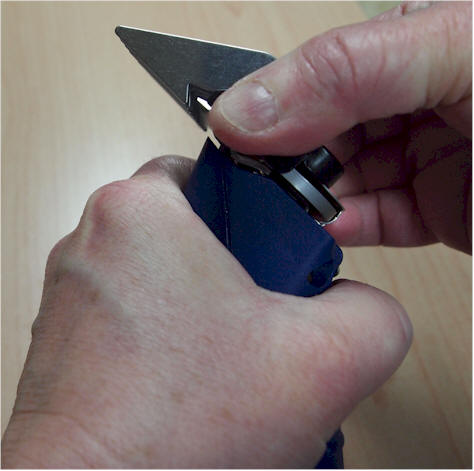
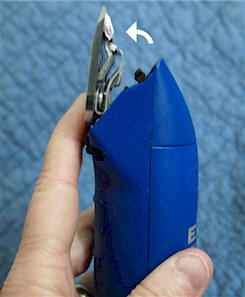 This picture shows the direction the blade opens. I pull the teeth-end of the blade away from the body of the clipper. |
 The picture above shows how I open the clipper hinge to release the blade. |
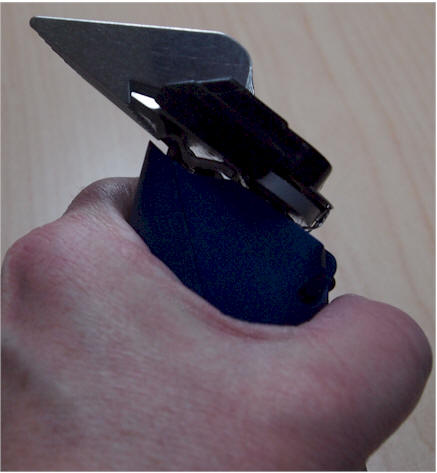
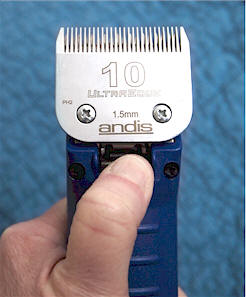 The blade is now just sitting on the hinge and can be lifted off the clipper. |
|
|
||

 |
 My Oster clippers a tongue or hinge that the blade slips on. |
 The hinge is pictured here in the “open” position and ready to accept a blade. |
 The open hinge slips in the slot on the blade. |
 |
 I seat the blade. |
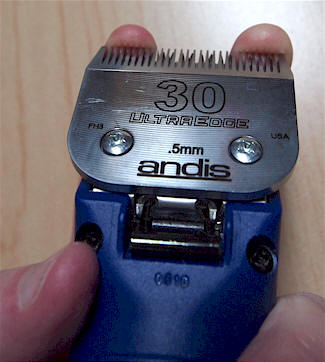 |
 Then turn the clipper on and snap the blade into place while the clipper is running. |
 |
 It’s now ready to use. |
On occasion, the clipper blade doesn’t seat properly after following these steps. When the clipper is turned on, the top cutter blade that also has teeth fails to move as it’s supposed to so it won’t clip hair. For some blades you will need to push & hold the Blade Release Button in when putting blades on the clipper so that they will snap into place |
|
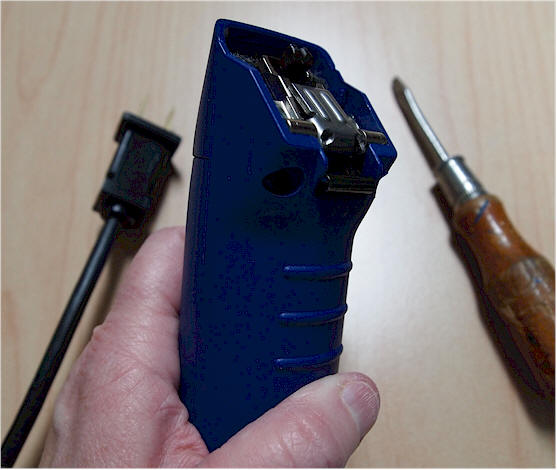
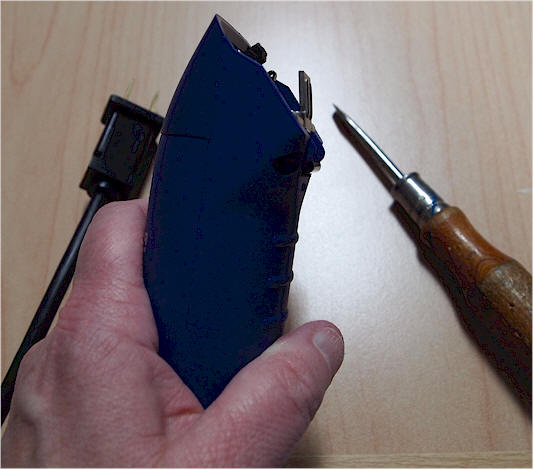
 There can be times when the hinge has snapped back down. The hinge needs to be lifted again in order to attach a clipper blade. |
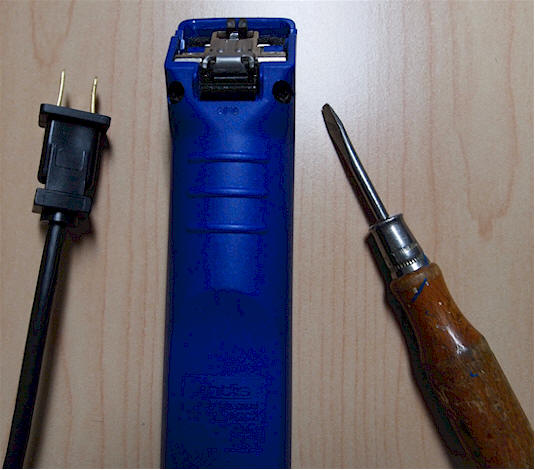
 I always UNPLUG the clipper first before lifting the hinge. |
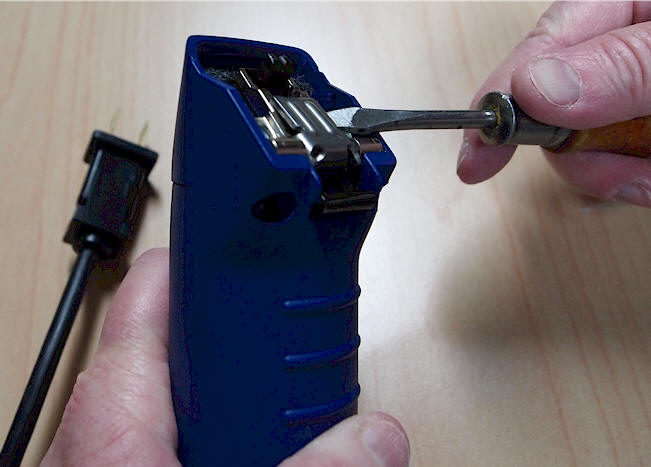 I use a flat screw driver to lift the hinge so it will snap into the “open” position. |
 I carefully work the end of the screw- driver under the hinge and pry it open.If part of the blade tension spring-socket is on the clipper, you will need to push & hold the blade release button in while doing the above. |
 |
 The hinge is again in the open position. |
 |
|
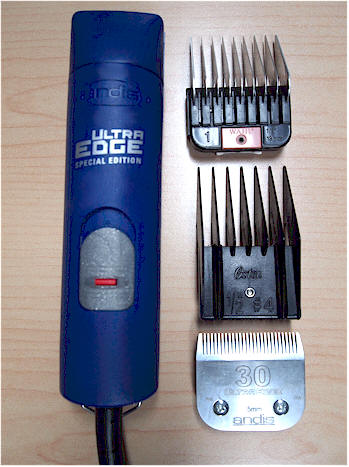
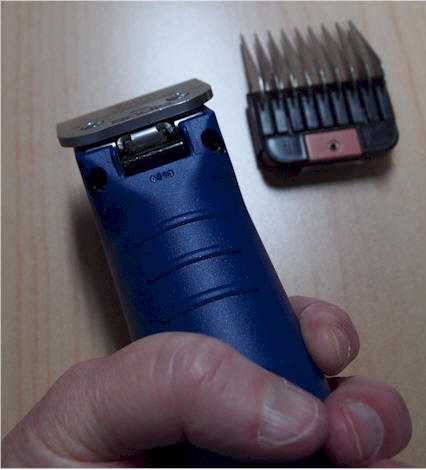
Pictured above are the clipper, a stainless steel snap-on comb, a plastic snap-on comb and a #30 clipper blade. |
 I’m going to attach the stainless steel snap-on comb. The blade has been properly attached to the clipper. |
 The tabs at the bottom of the spring-loaded snap-on comb hook under the bottom of the blade. |
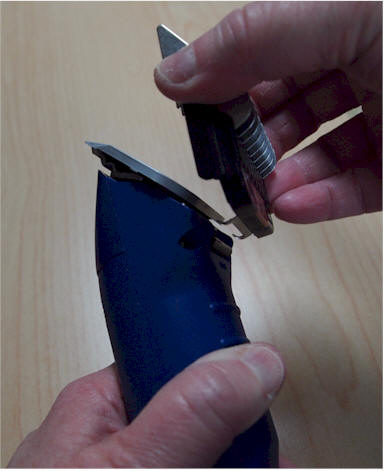 Hooking the tabs under the base of the clipper blade. |
 |
 The tabs are hooked in place. |
 I line up the blade and carefully push the comb forward… |
 and hook the the comb over the teeth at the front of the clipper blade. |
 This snap-on comb is now properly attached. |
 |
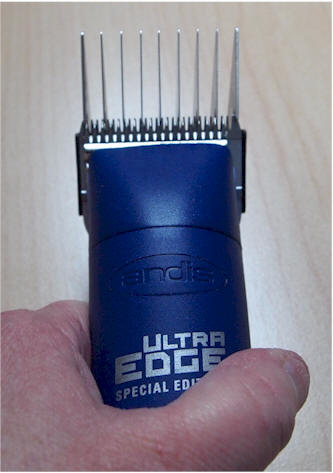 The clipper is now ready to use. |
|